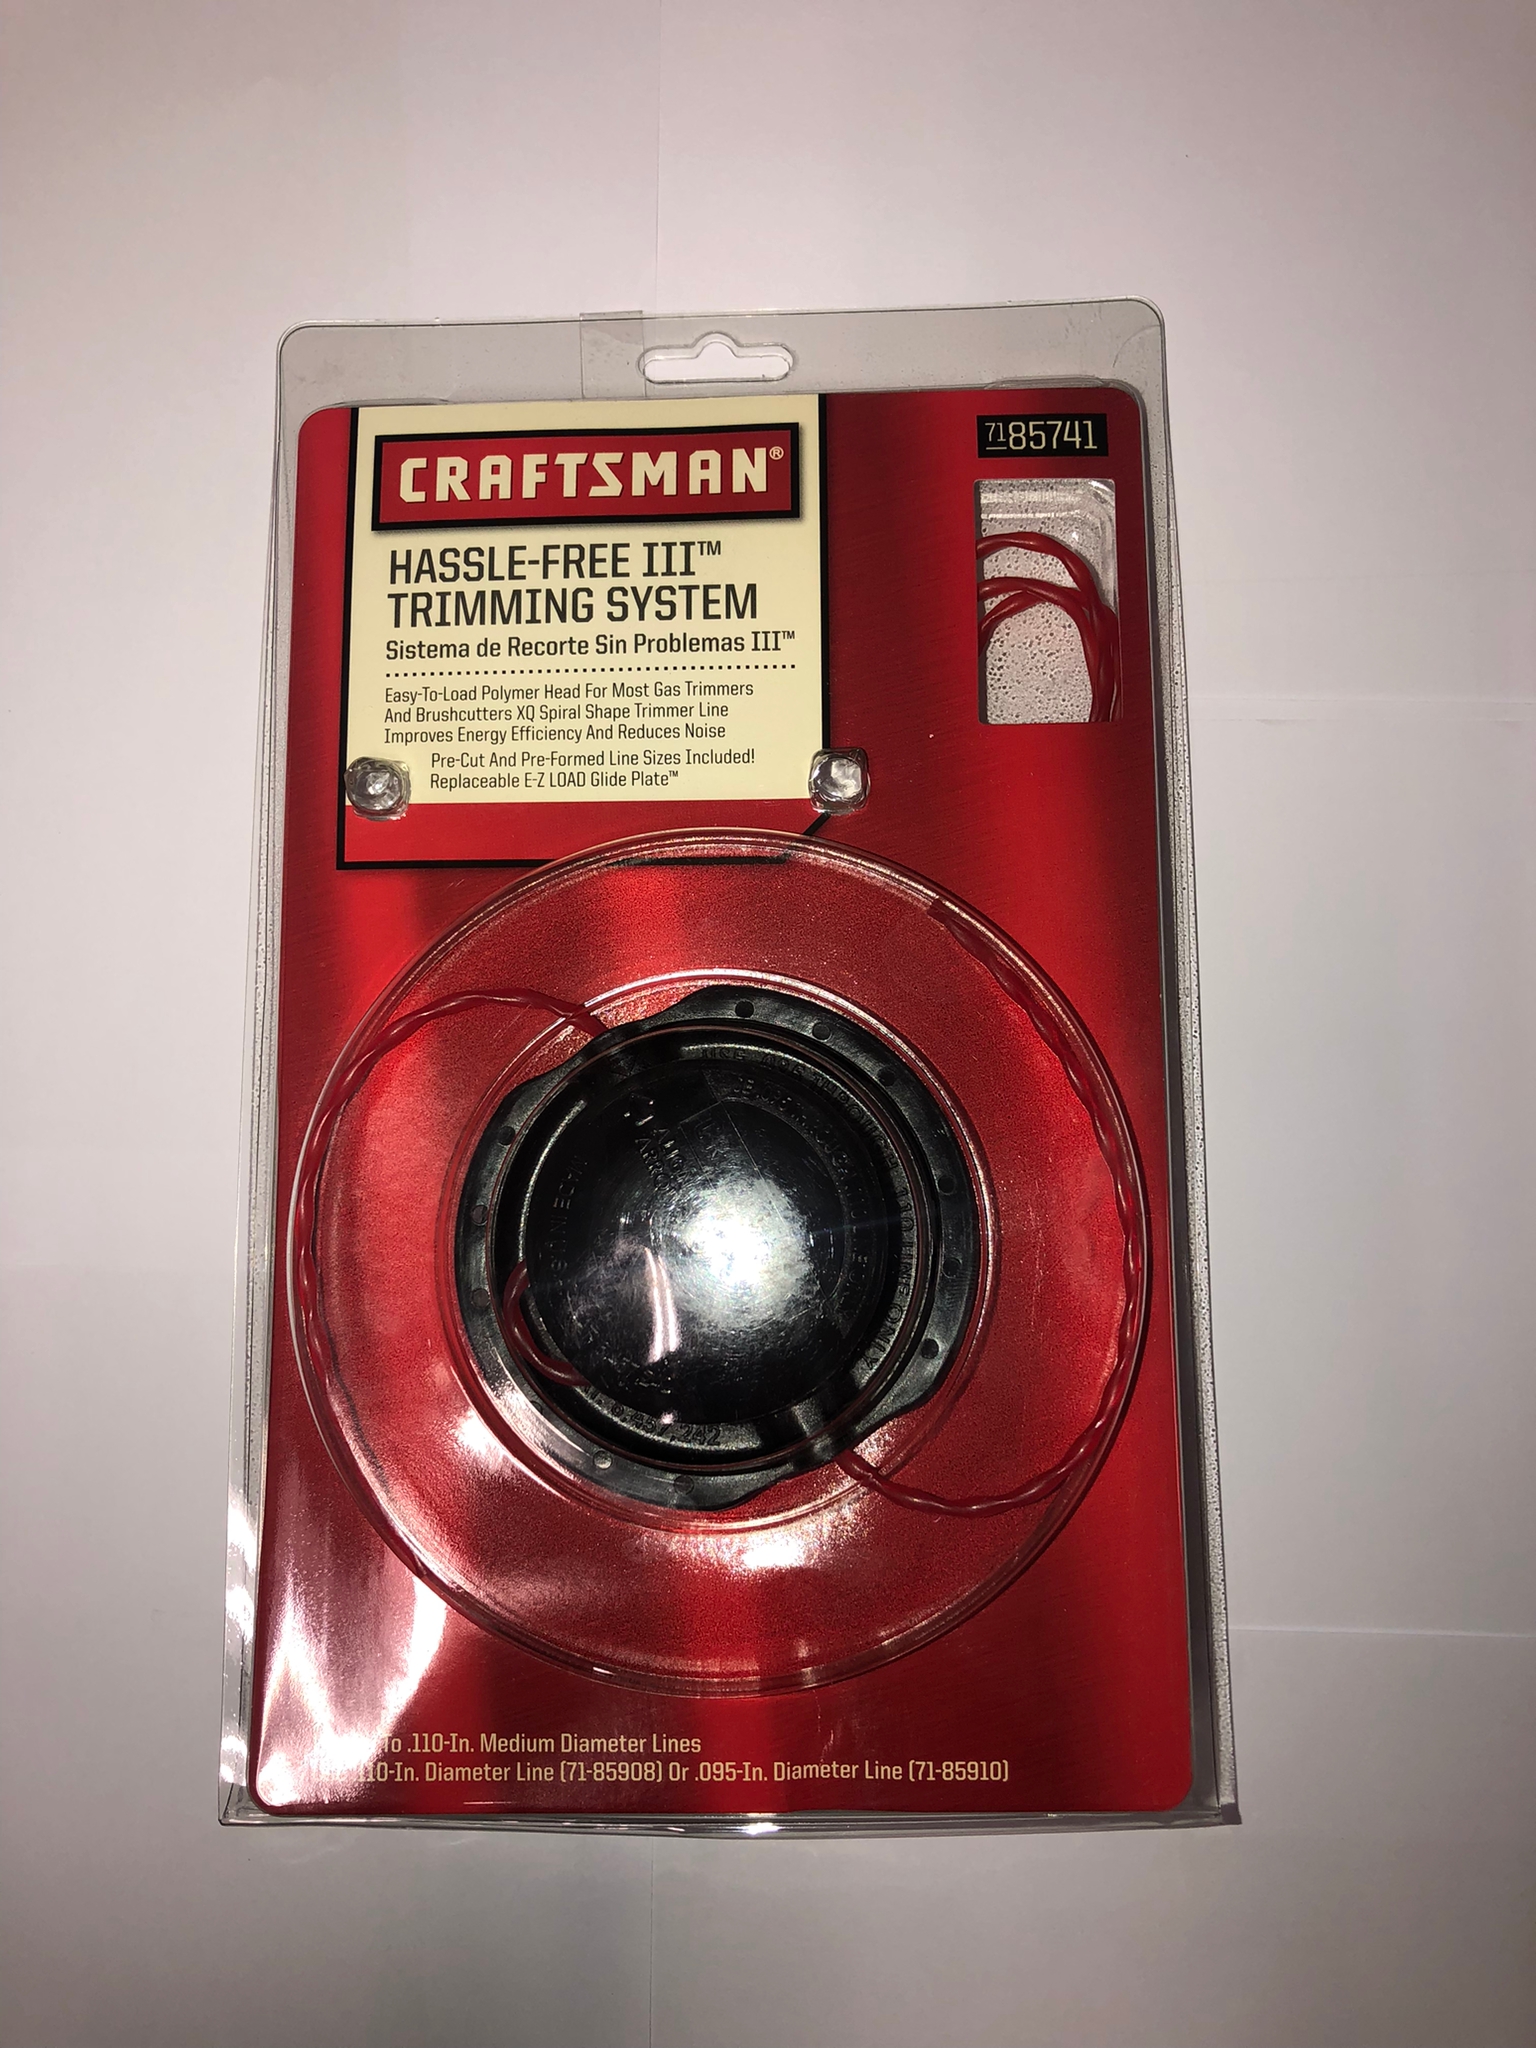
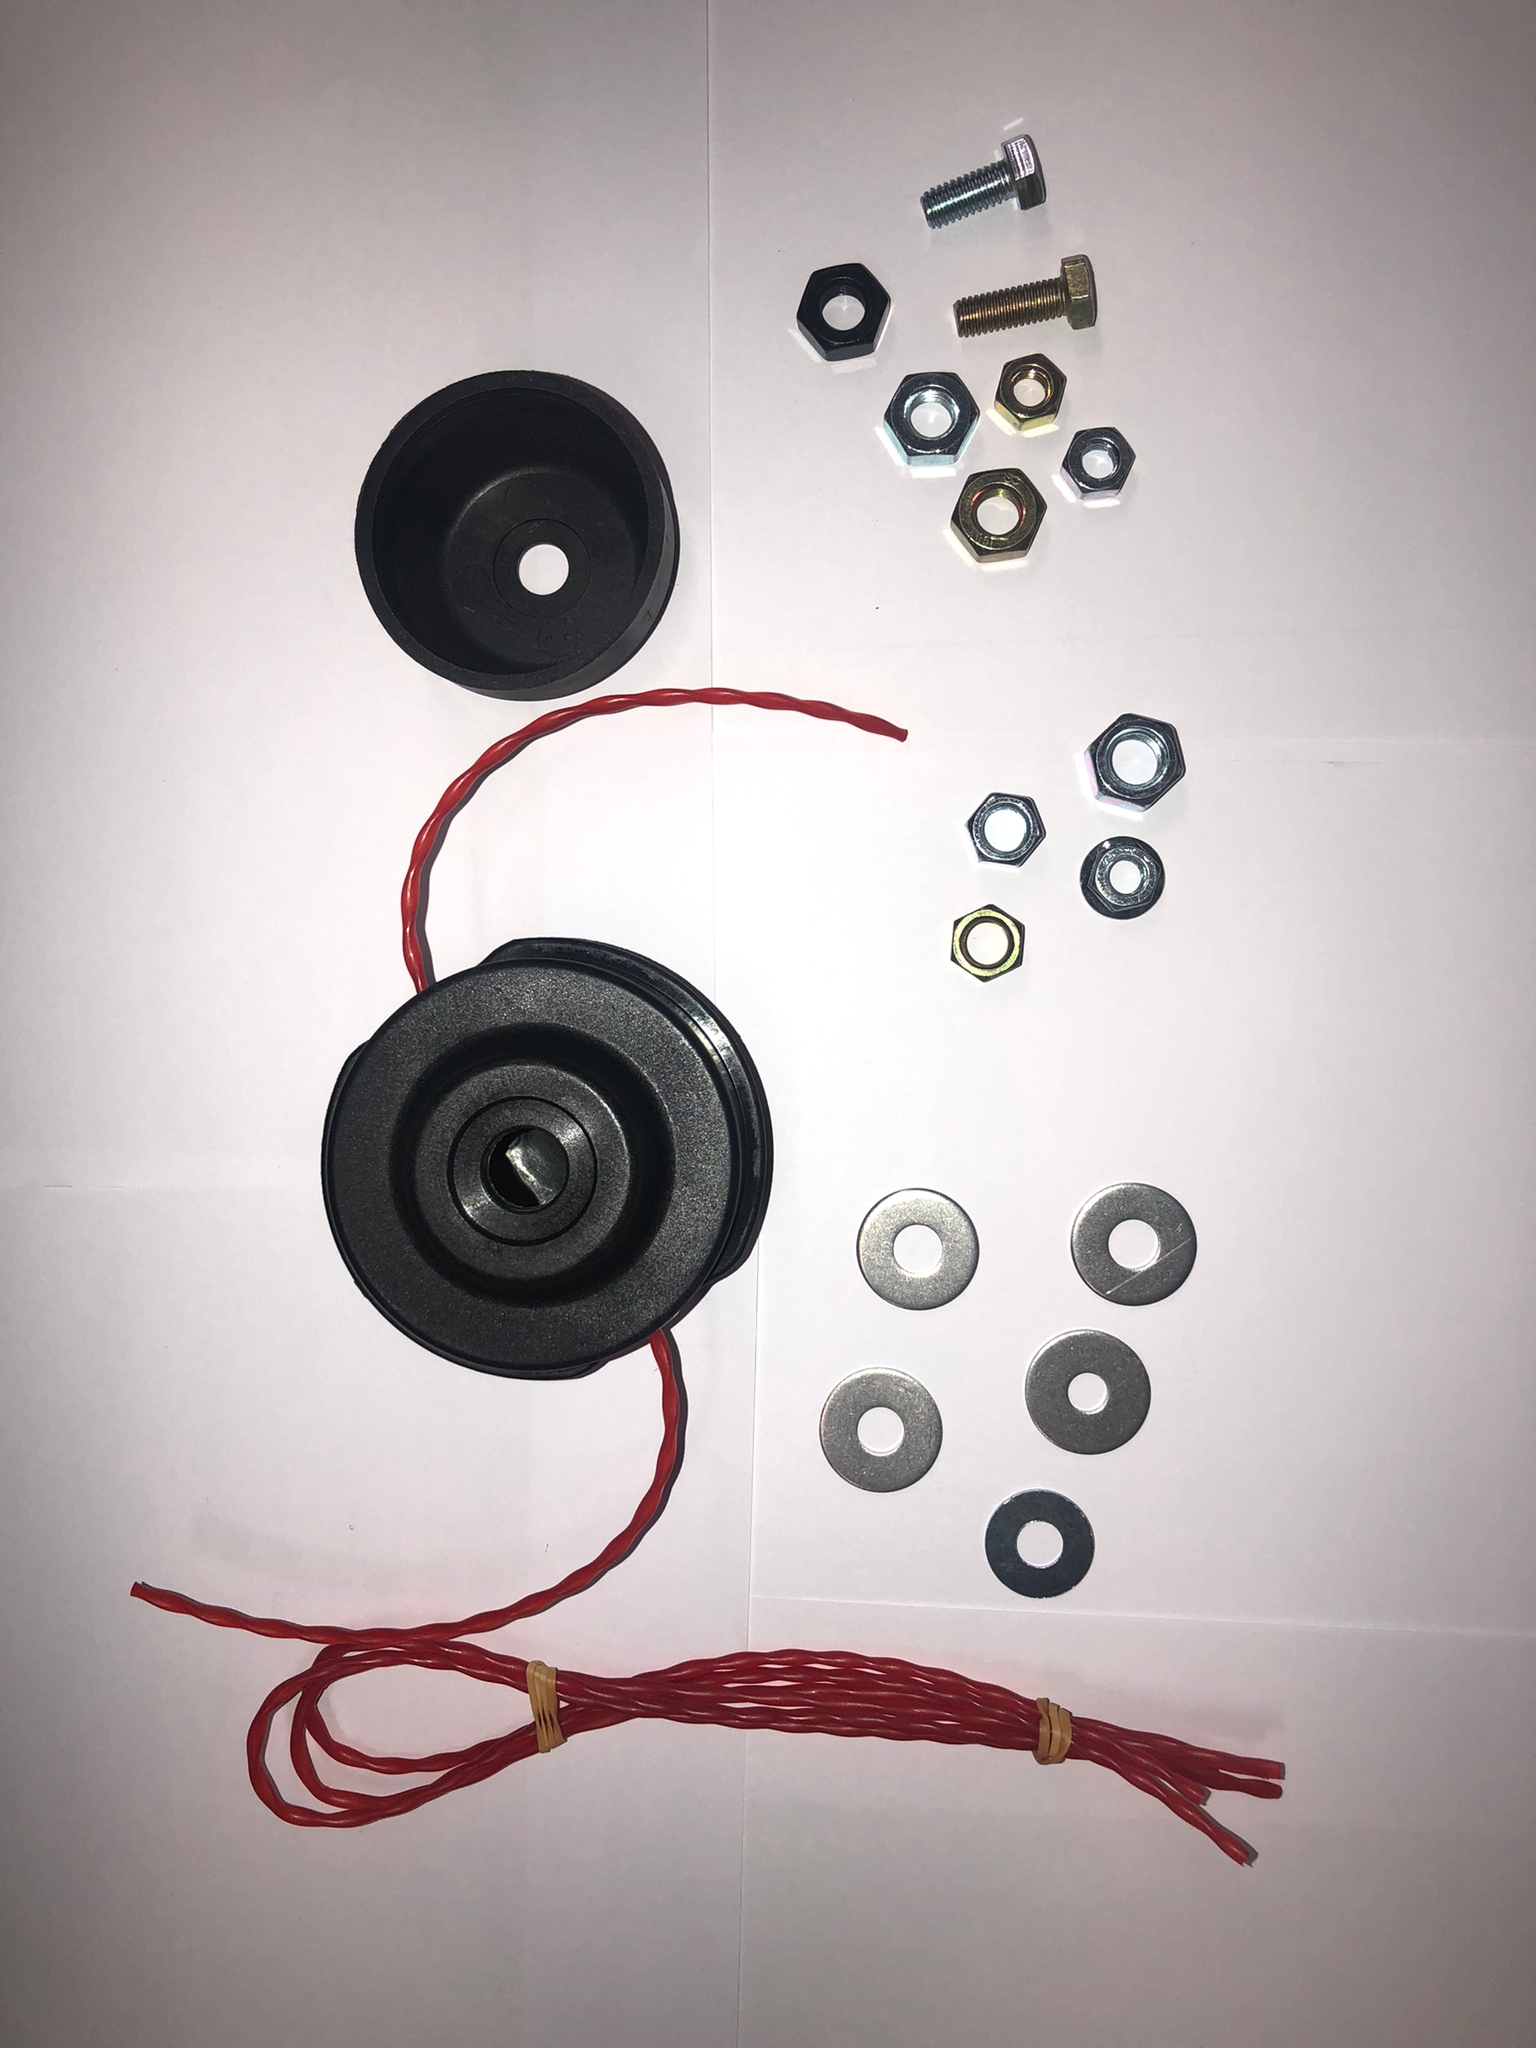
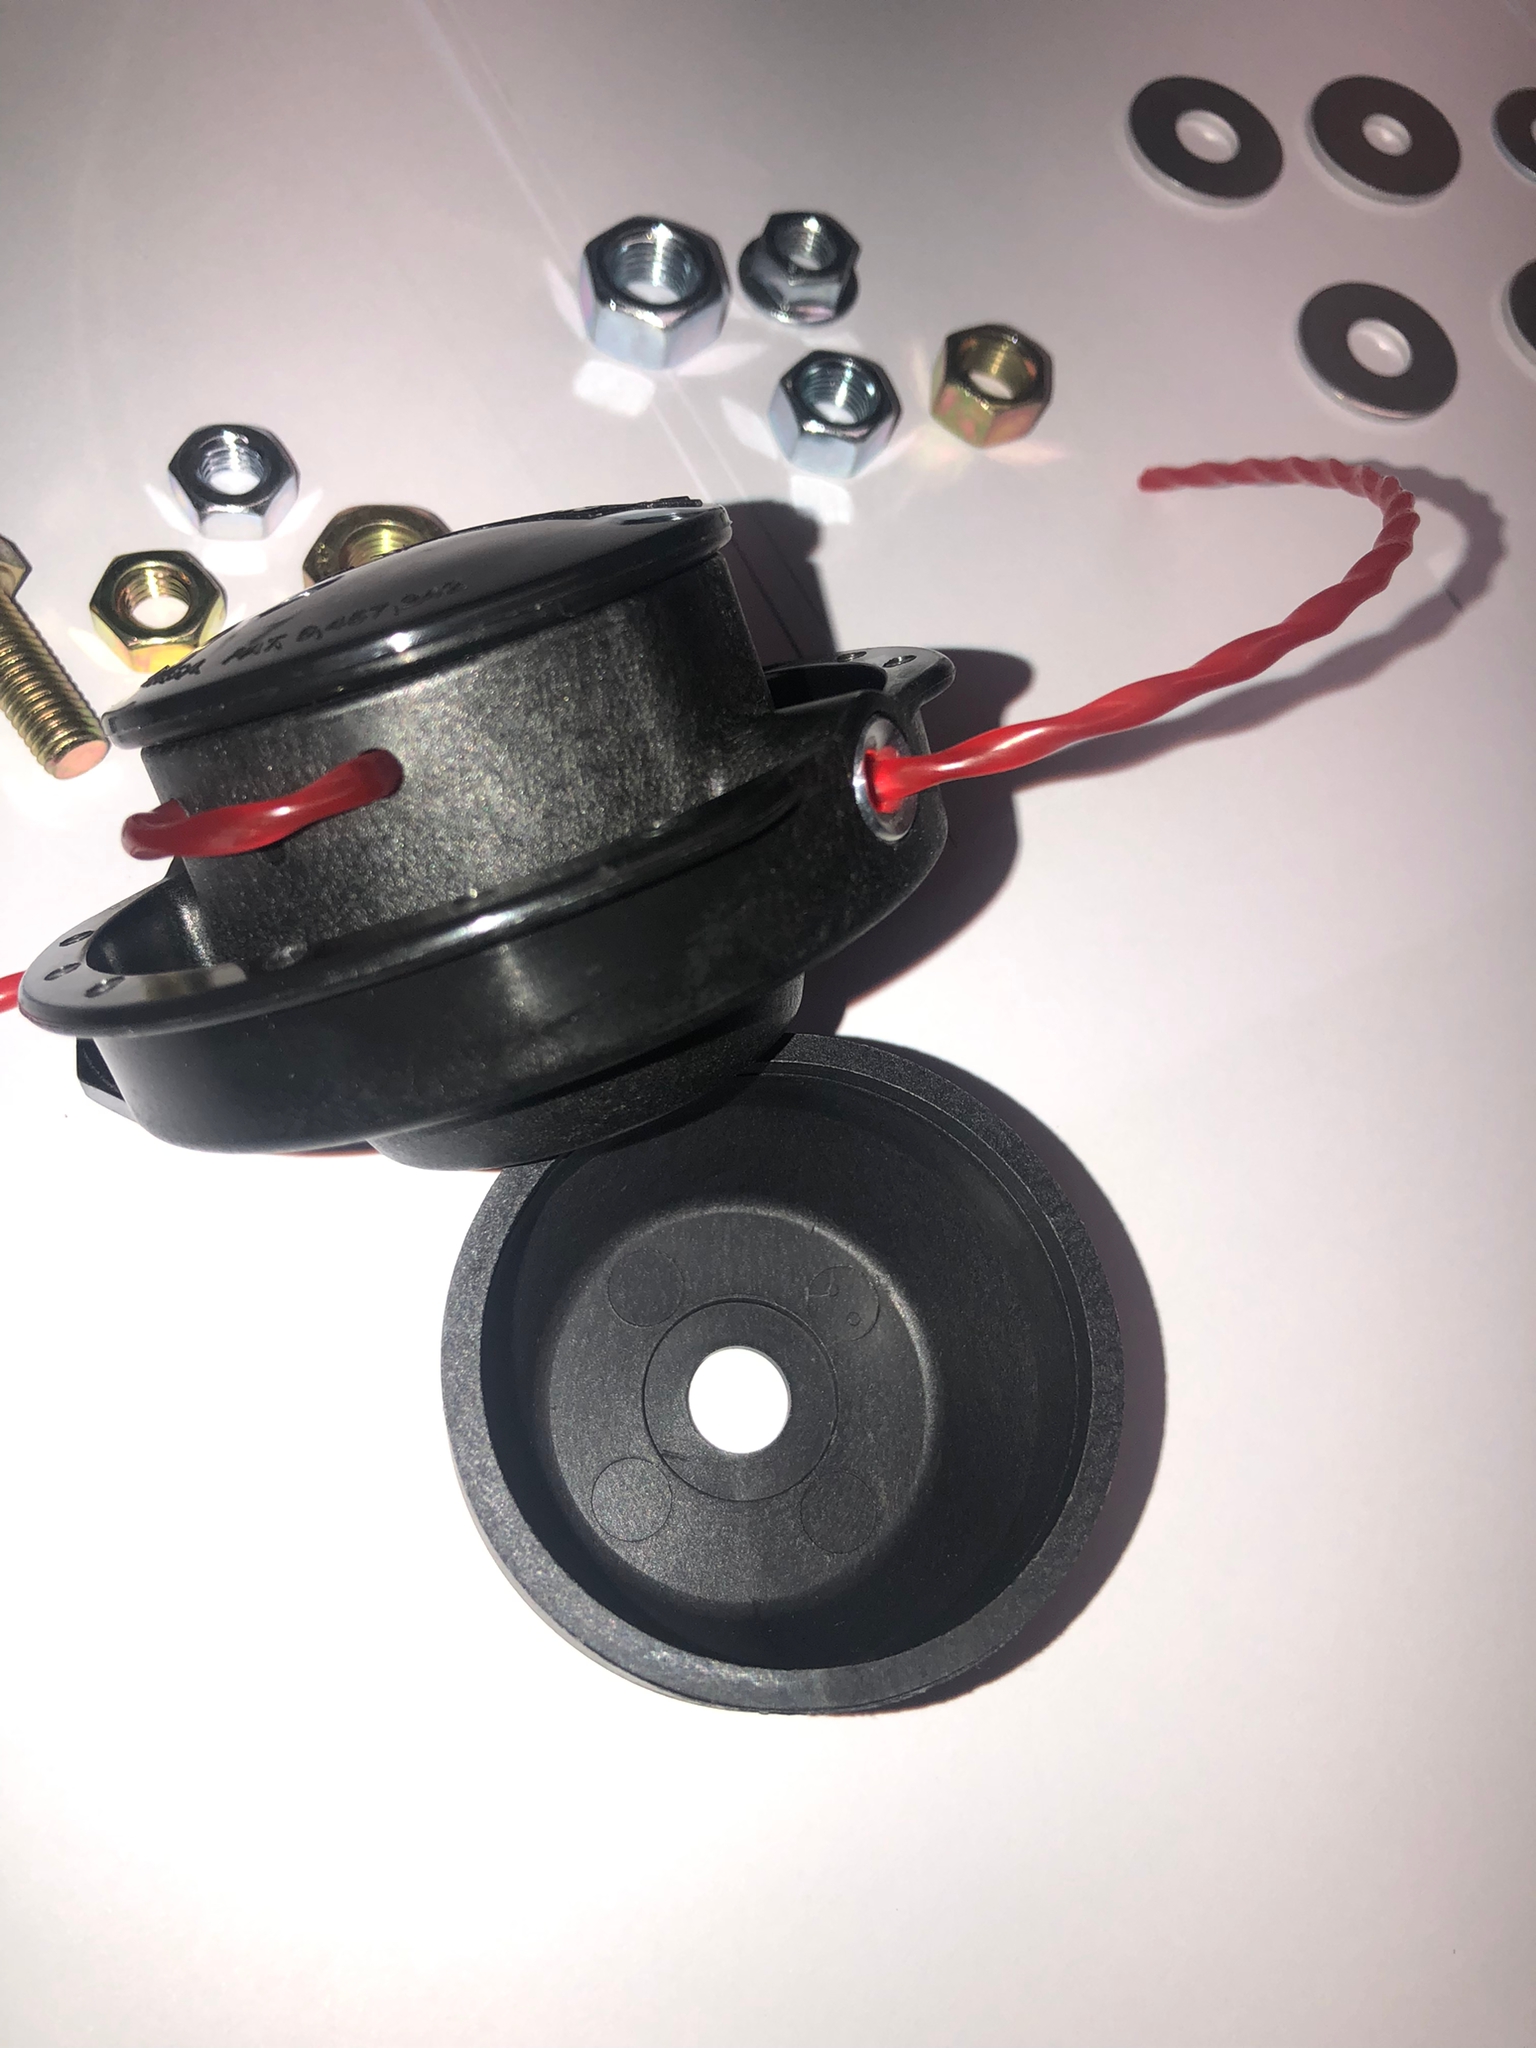
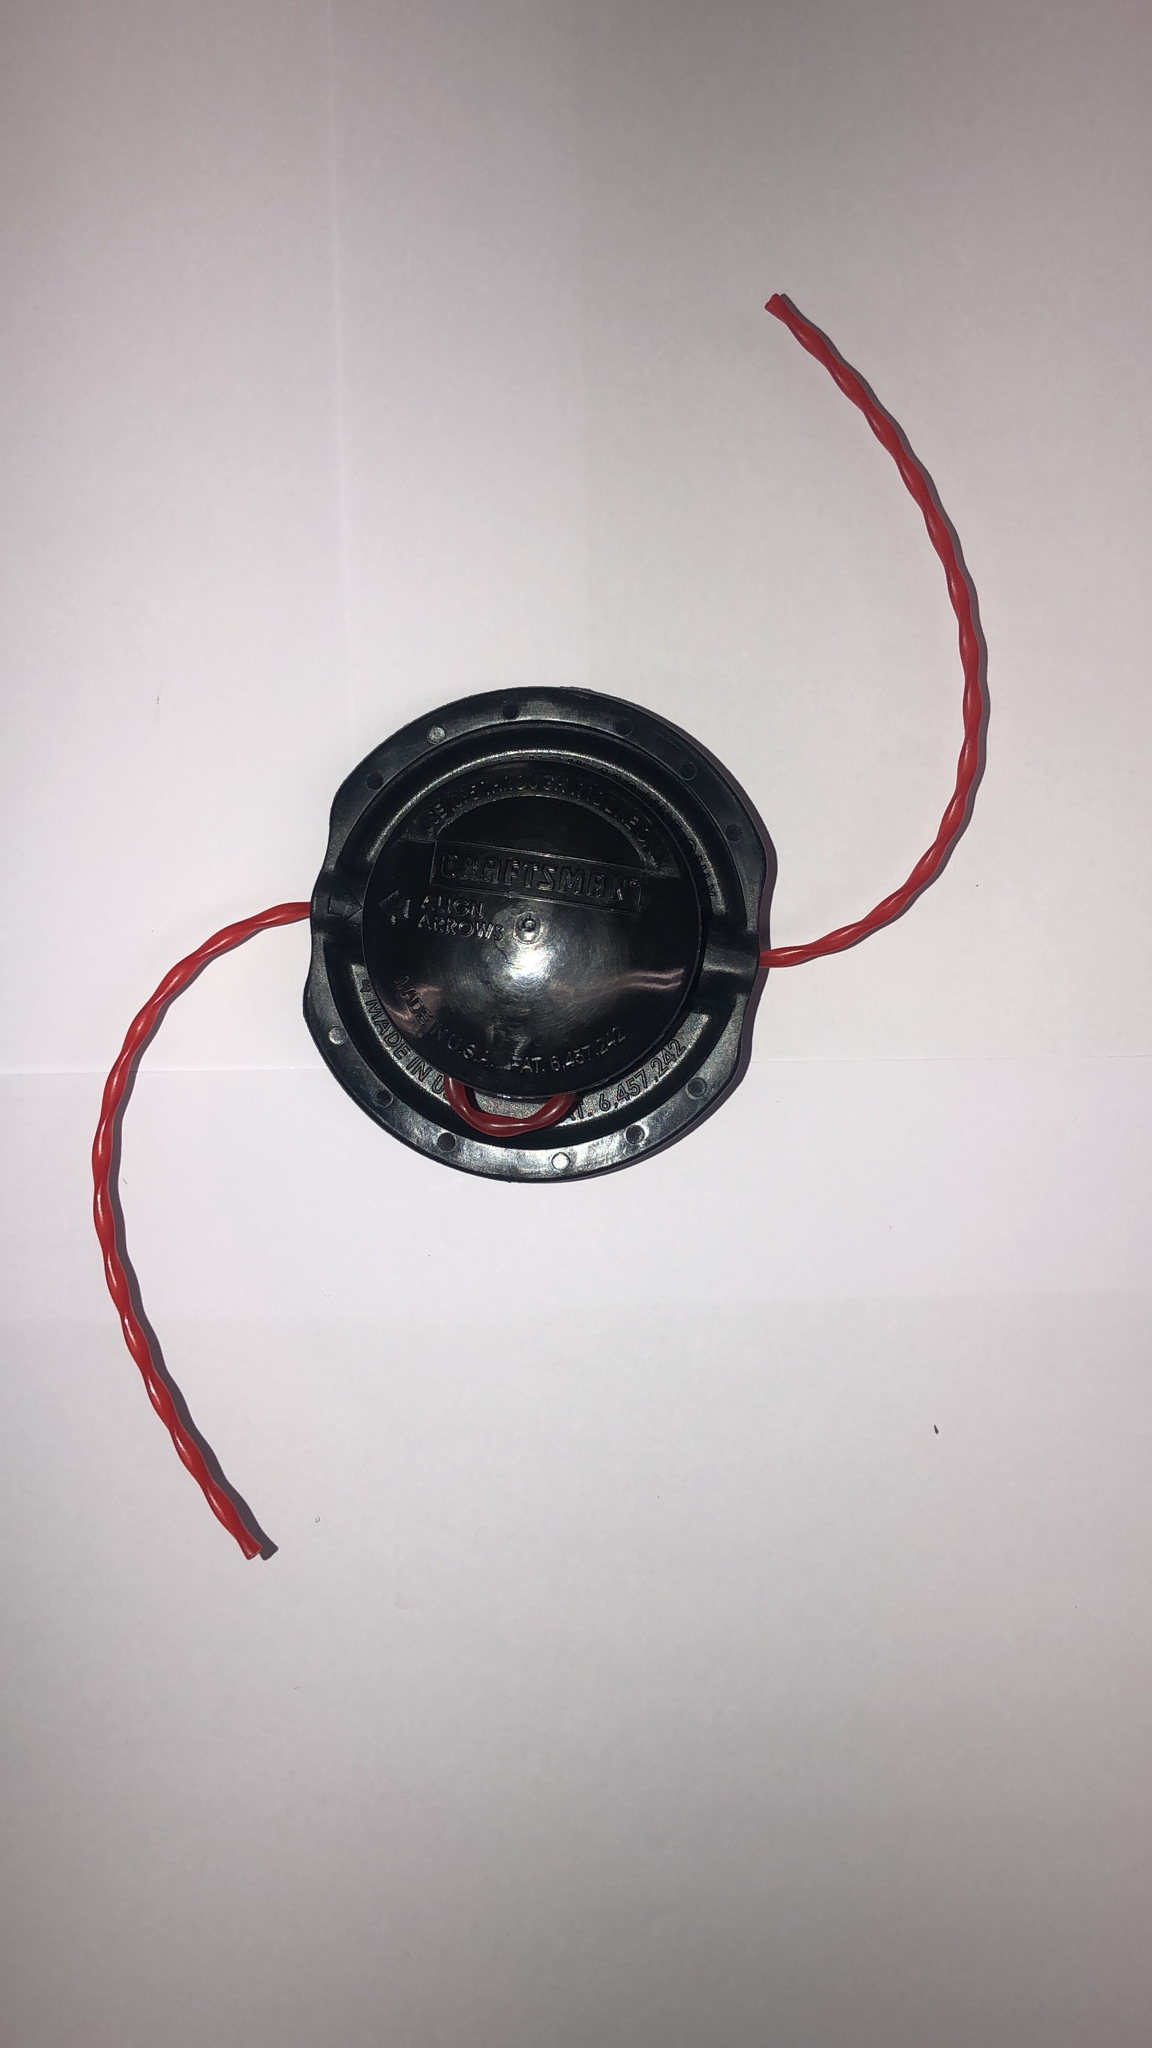
This Hassle Free III Trimming Head fits most Trimmers and Brushcutters.
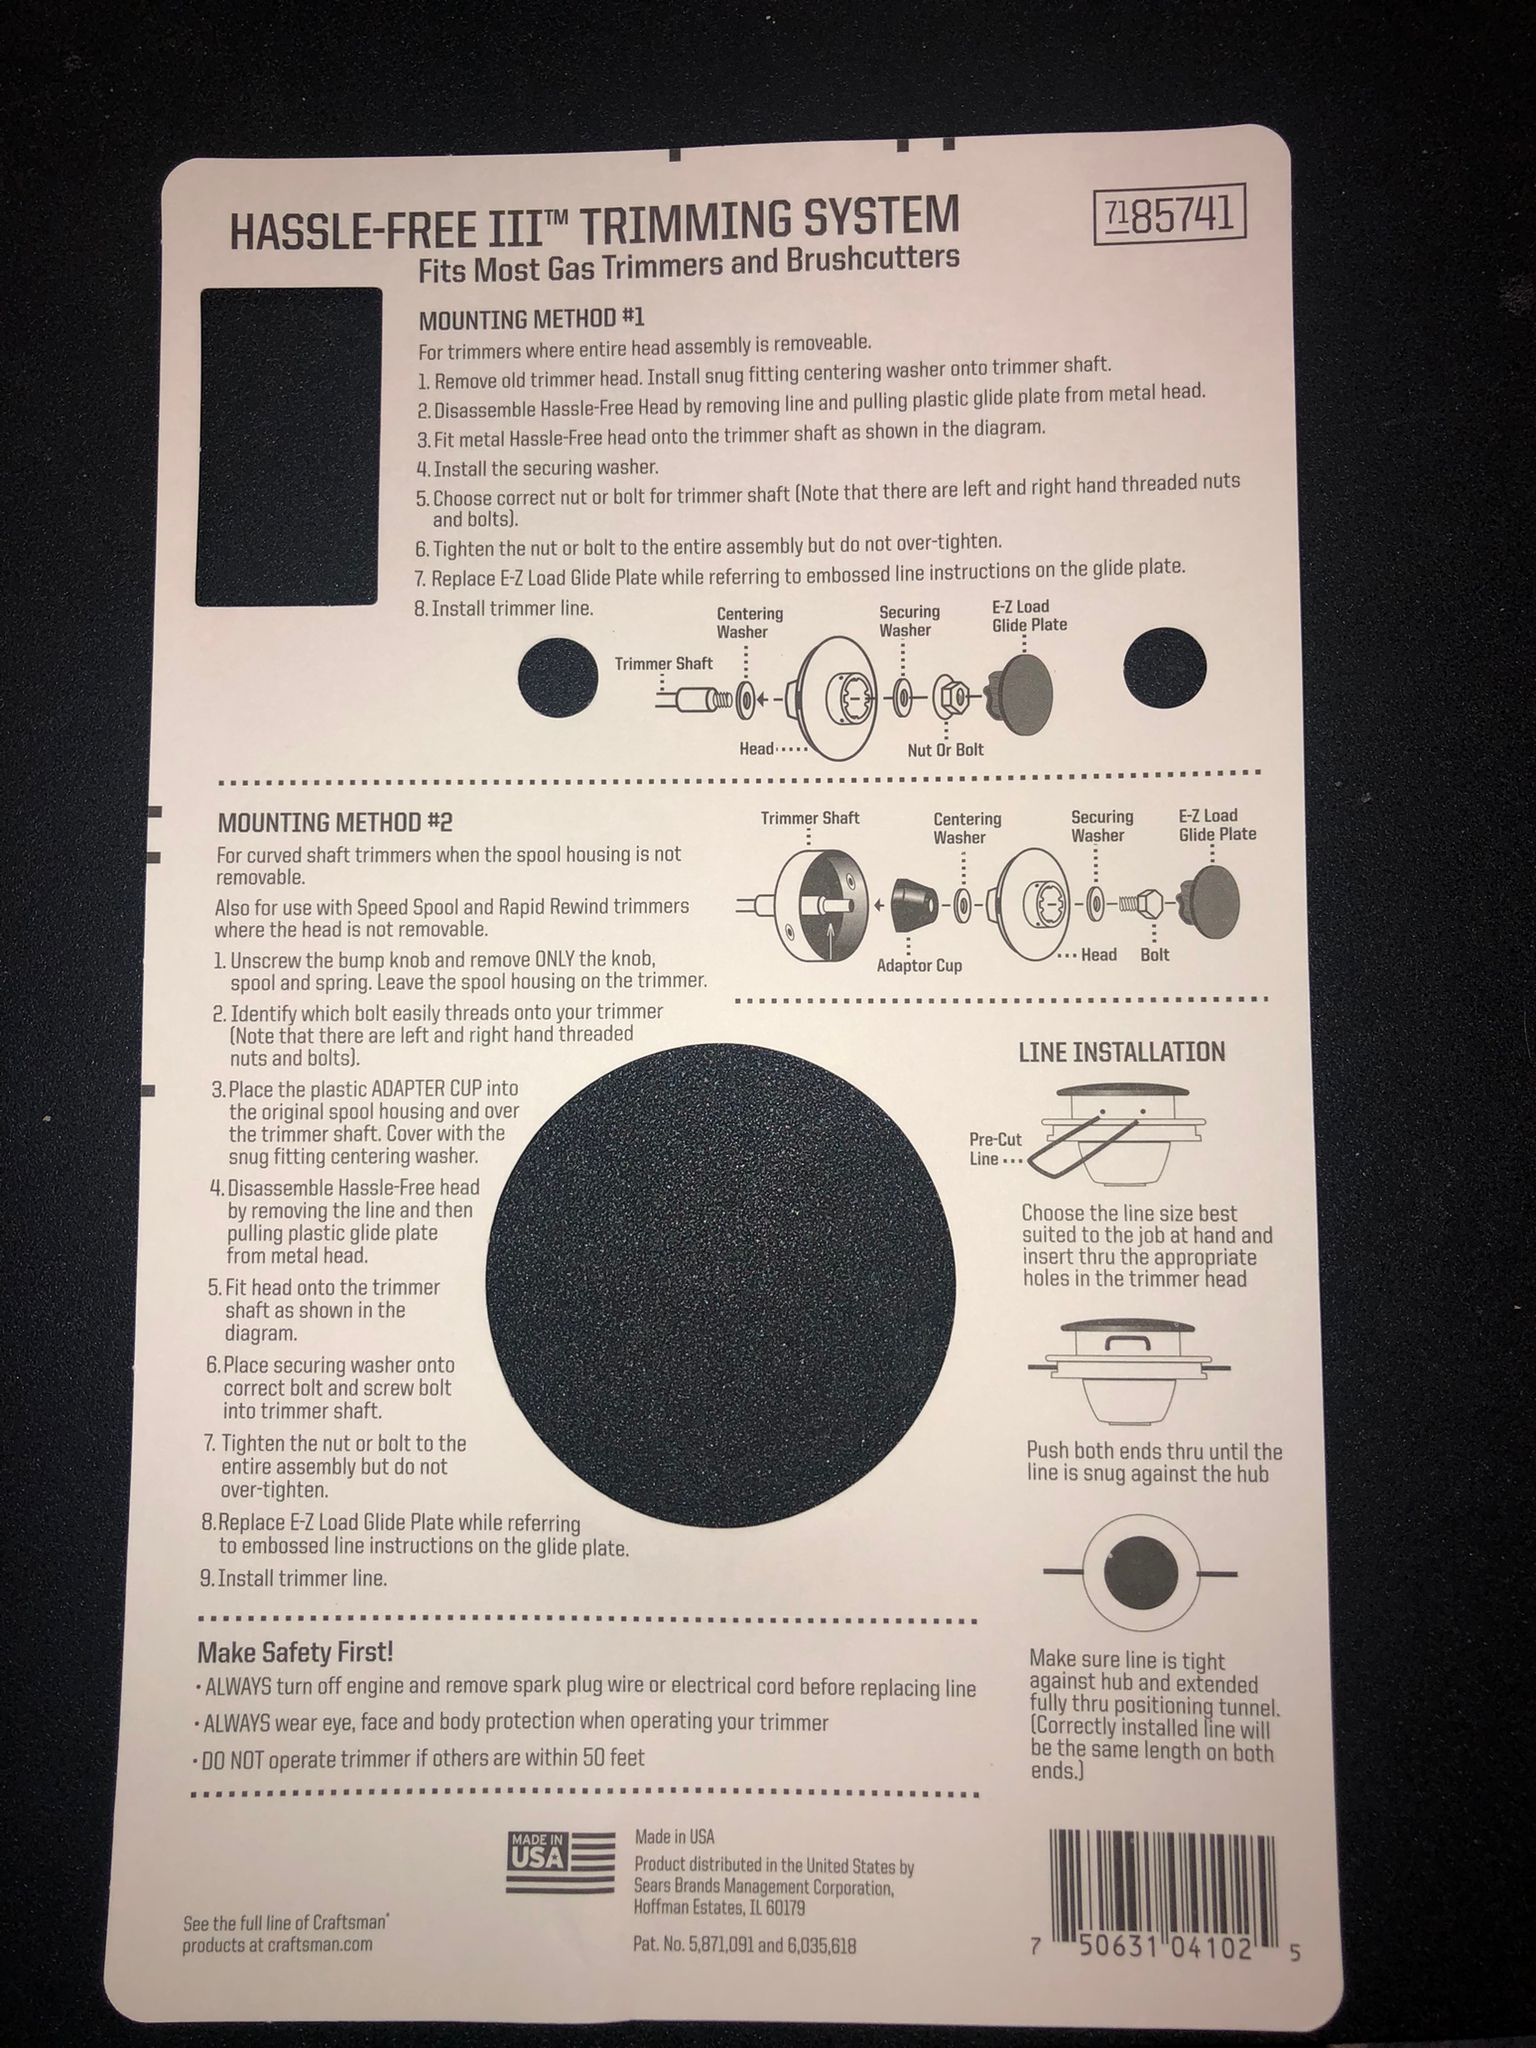
- MOUNTING METHOD (For trimmers where entire head assembly is removable)
1. Remove old trimmer head. Install snug fitting centering washer onto trimmer shaft.
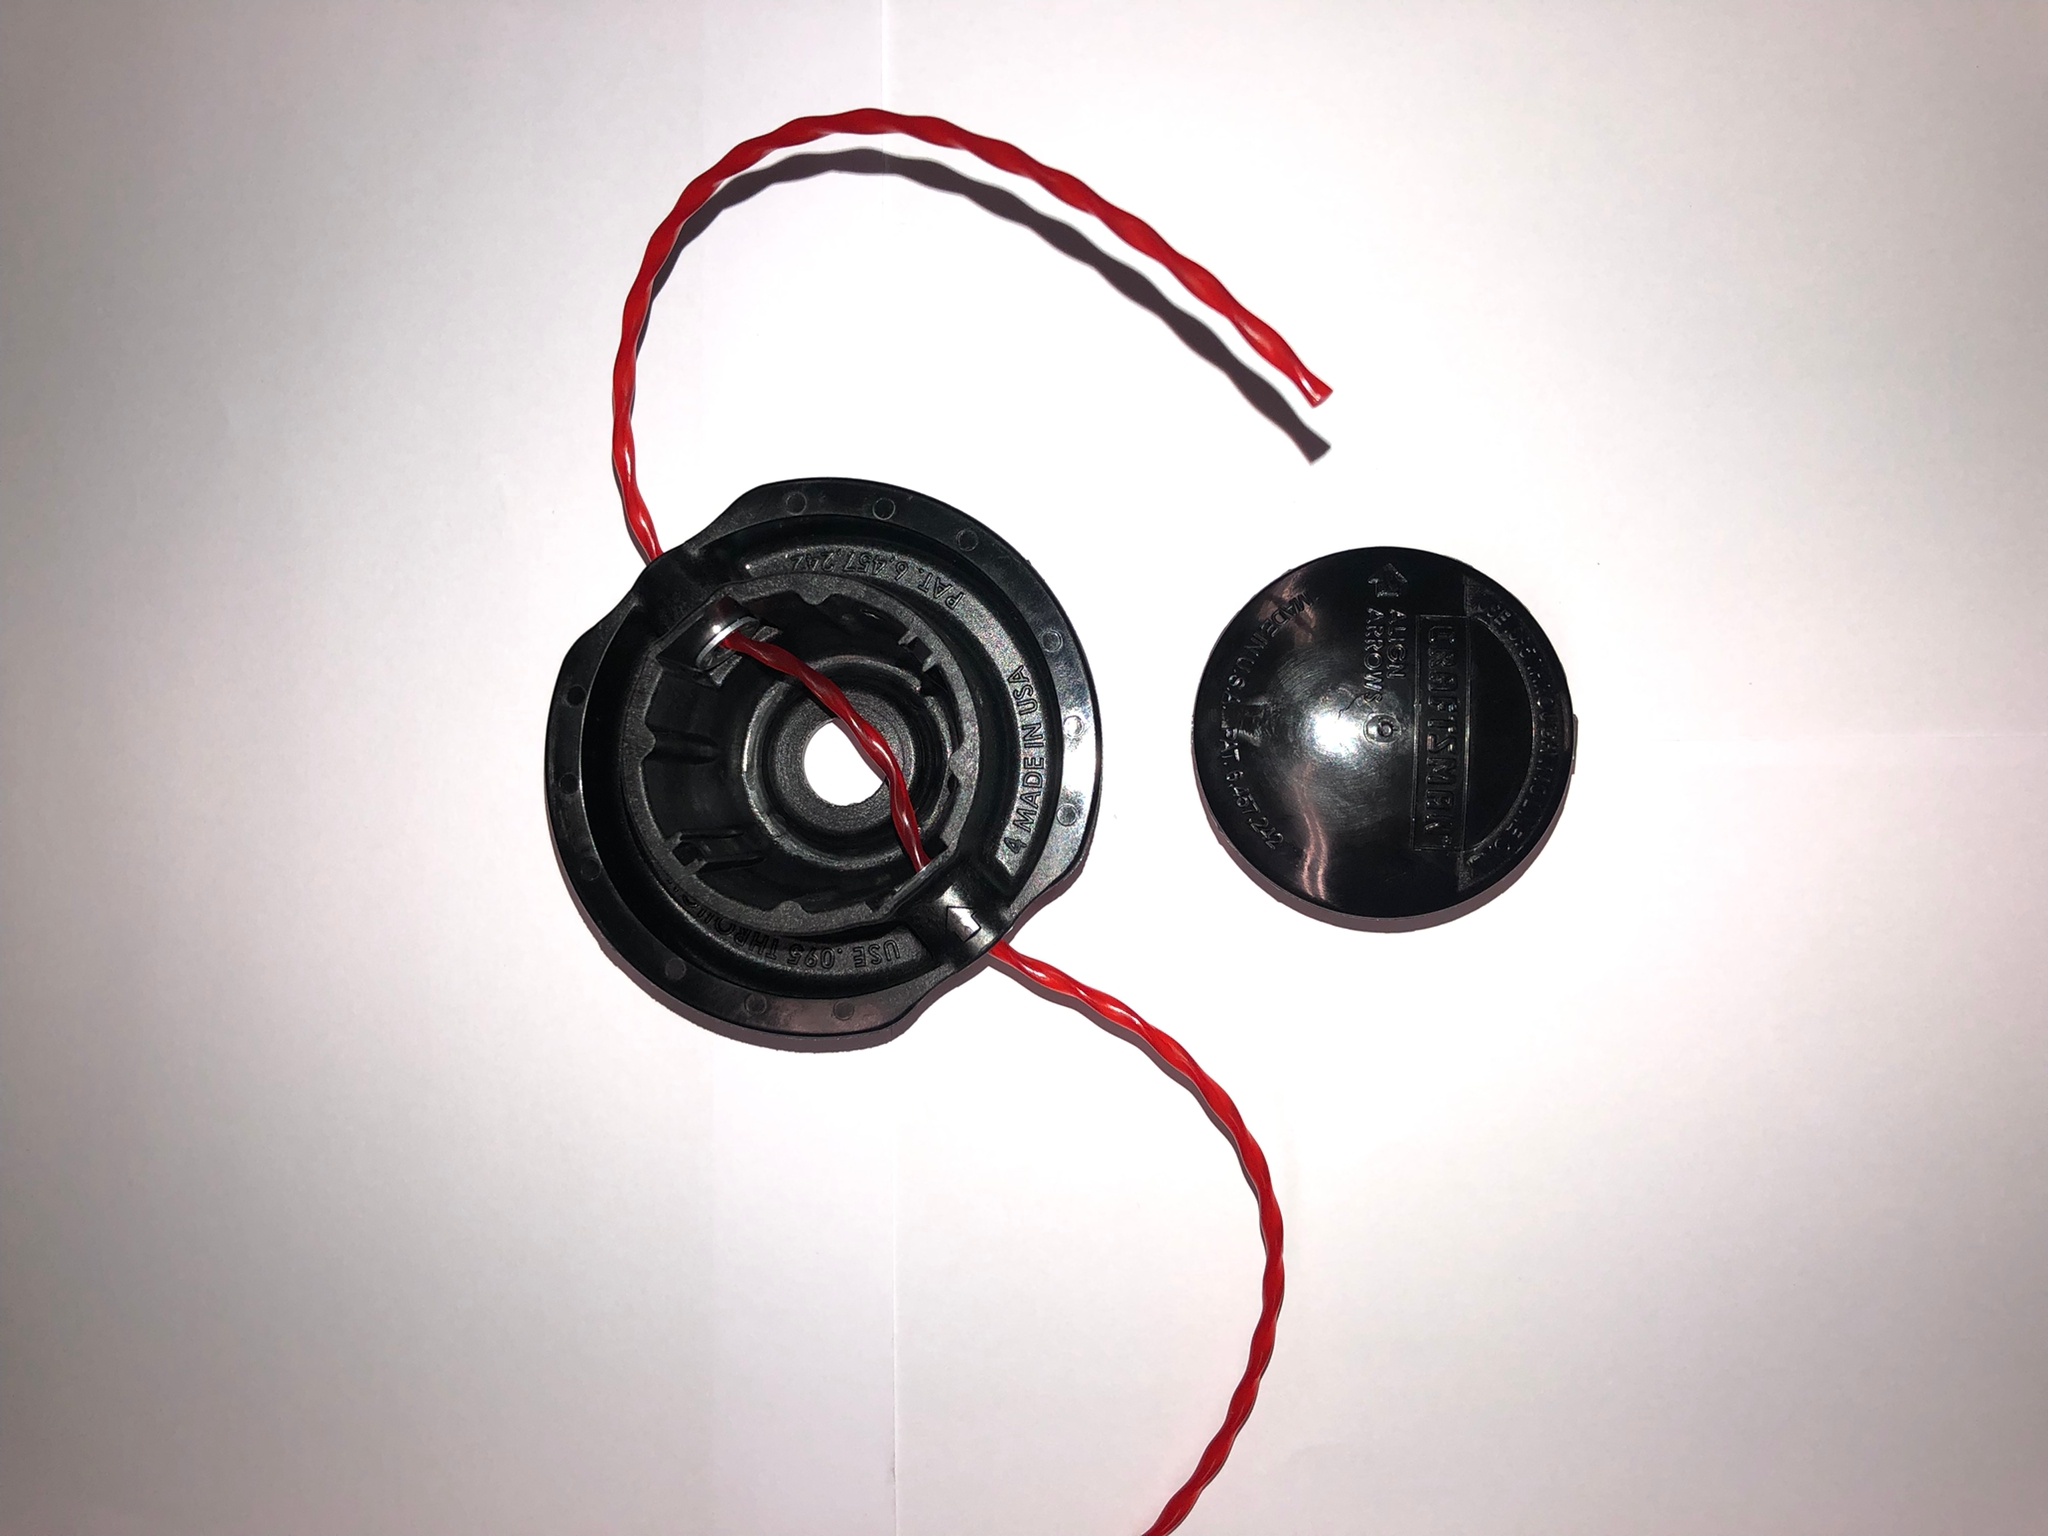
2. Dis-assemble Hassle-Free Head by removing line and pulling plastic glide plate from metal head.
3. Fit metal Hassle-Free head onto the trimmer shaft as shown in the diagram.
4. Install the securing washer.
5. Choose correct nut or bolt for trimmer shaft (Note that there are left and right hand threaded nuts and bolts].
6. Tighten the nut or bolt to the entire assembly but do not over-tighten.
7. Replace E-Z Load Glide Plate while referring to embossed line instructions on the glide plate.
8. Install trimmer line.
- MOUNTING METHOD (For curved shaft trimmers when the spool housing is not removable)
Also for use with Speed Spool and Rapid Rewind trimmers where the head is not removable.
1. Unscrew the bump knob and remove ONLY the knob, spool and spring. Leave the spool housing on the trimmer.
2. Identify which bolt easily threads onto your trimmer
(Note that there are left and right hand threaded nuts and bolts).
3. Place the plastic ADAPTER CUP into the original spool housing and over the trimmer shaft. Cover with the snug fitting centering washer.
4. Disassemble Hassle-Free head b removing the line and then pulling plastic glide plate from metal head.
5. Fit head onto the trimmer shaft as shown in the diagram.
6. Place securing washer onto correct bolt and screw bolt into trimmer shaft.
7. Tighten the nut or bolt to the entire assembly but do not over-tighten.
8. Replace E-Z Load Glide Plate while referring to embossed line instructions on the glide plate.
9 Install trimmer line.
Make Safety First!
ALWAYS turn off engine and remove spark plug wire or electrical cord before replacing line ALWAYS wear eye, face and body protection when operating your trimmerDO NOT operate trimmer if others are within 50 feetLINE INSTALLATION
Choose the line size best suited to the job at hand and insert through the appropriate holes in the trimmer head
Push both ends through until the line is snug against the hub
Make sure line is tight against hub and extended fully through positioning tunnel.
(Correctly installed line will be the same length on both ends.)
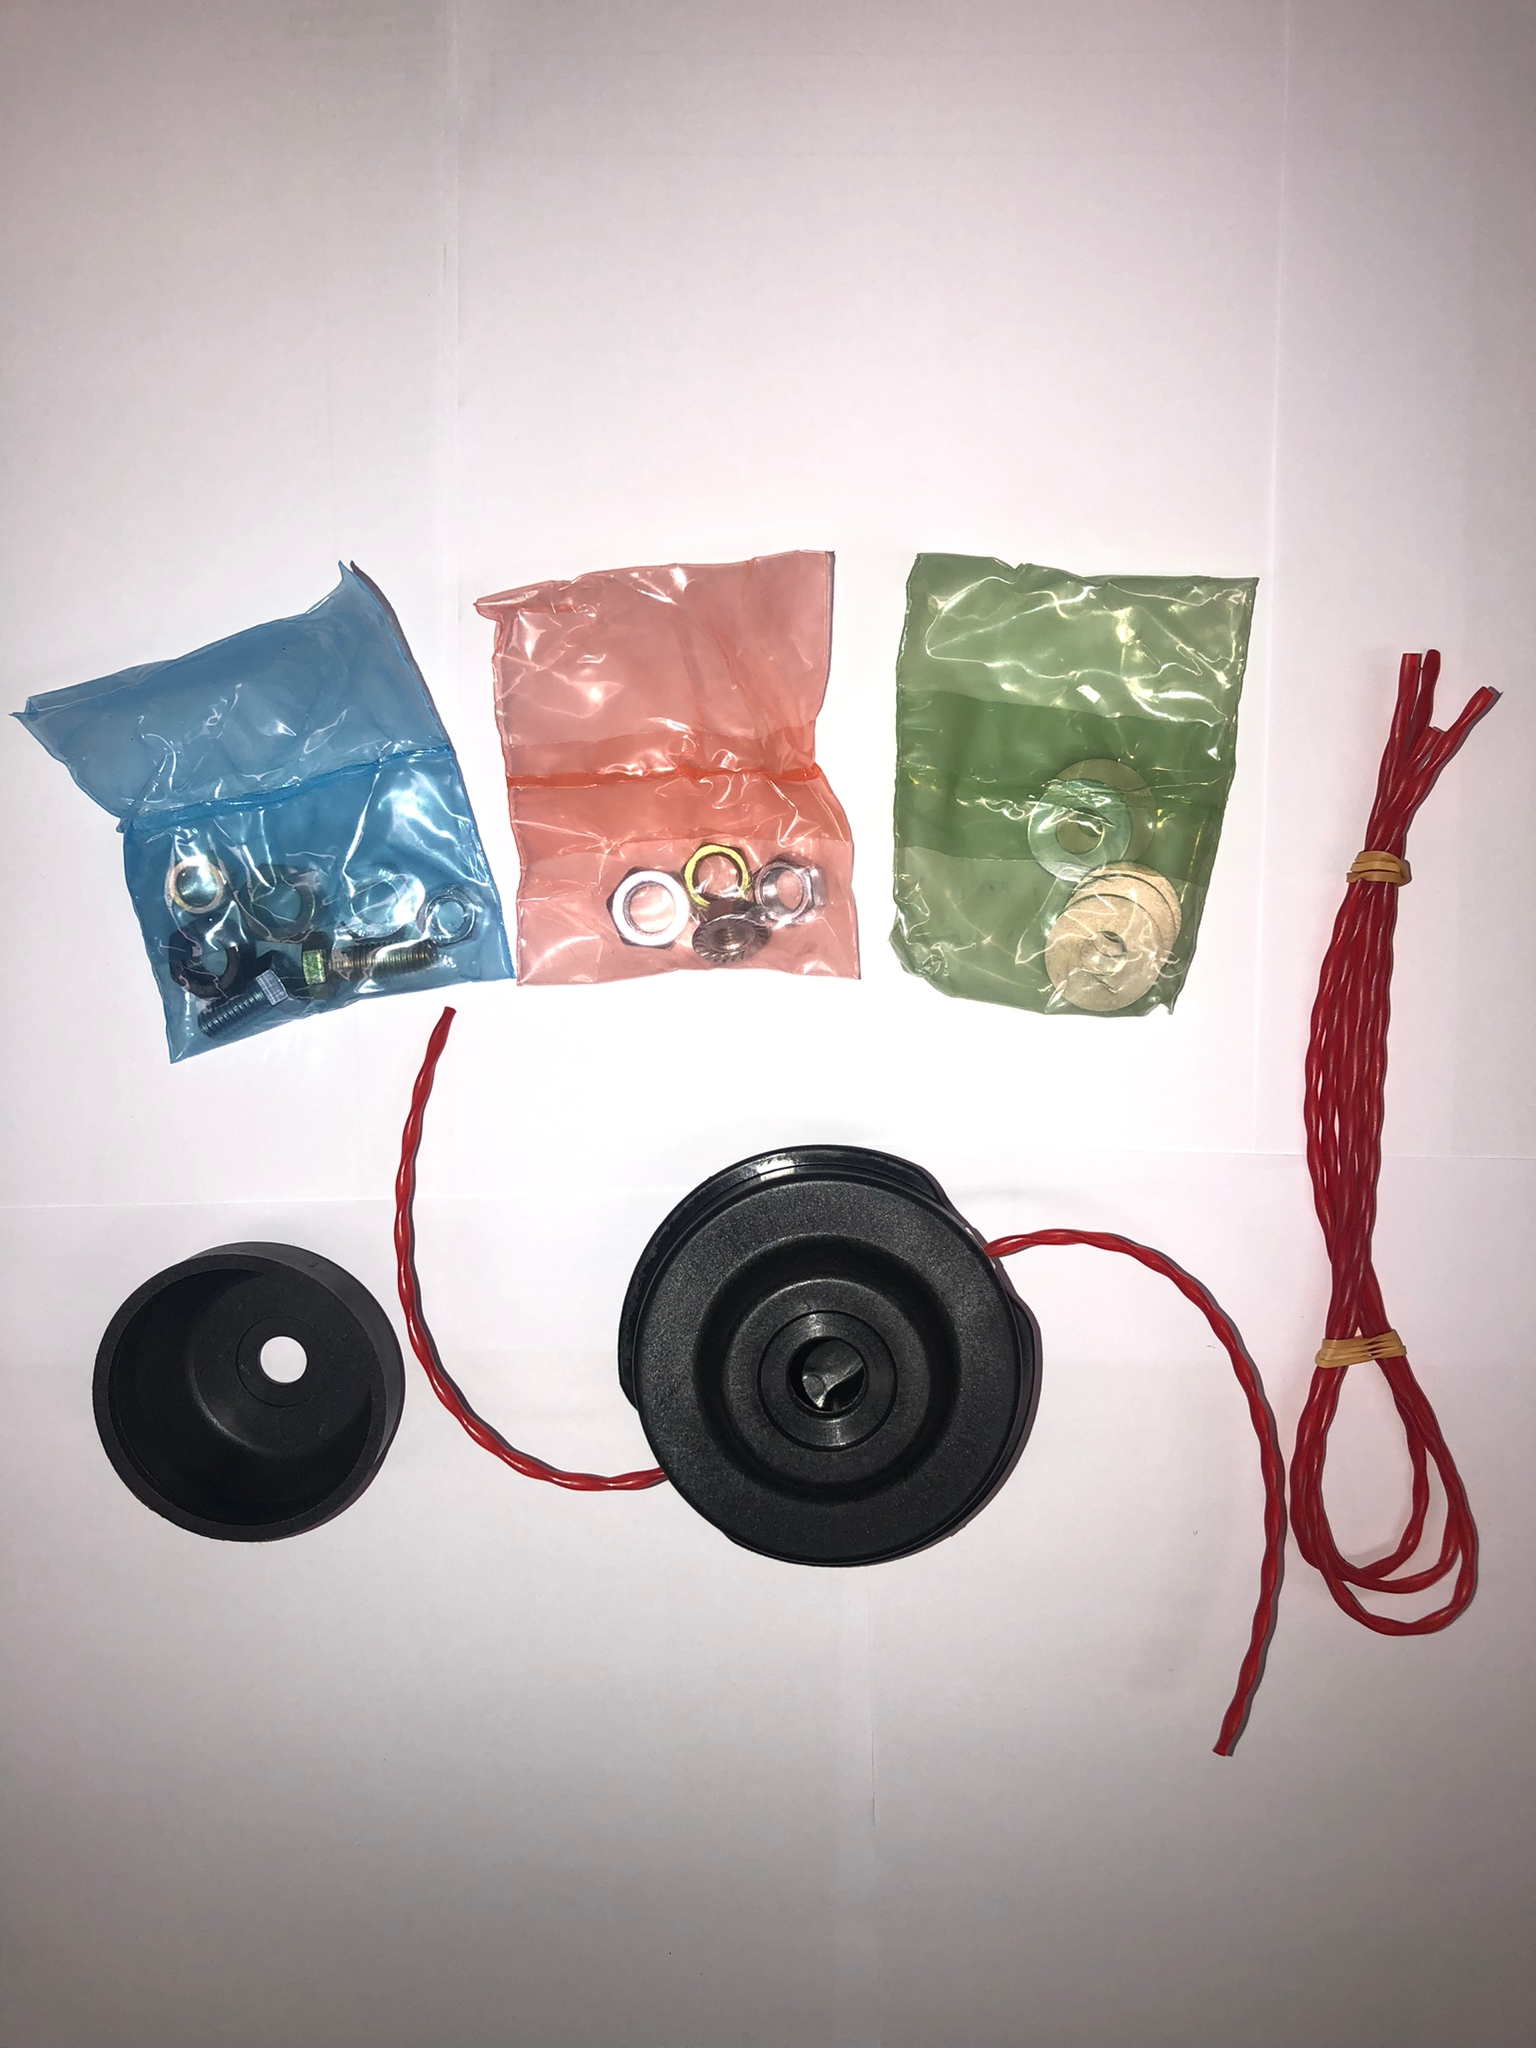
INCLUDES:
- Head
- Line
- Washers
- Nuts
- Bolts
This cutting head assembly (part number 753-06764) is for line trimmers and is very economical and reduces noise.
Cutting head assembly 753-06764 attaches to the drive shaft and houses the cutting line. The assembly may include multiple parts; refer to your parts diagram for a complete list of parts included.
This is Universal so fits all models and the Craftsman Compatible models include: 316711020, 316731700, 316711021, 316711022, 316711190, 316711191, 316990080, 31699010, 316711700, 316731701, 316794450, 316792540, 316711023, 316711192, 316711193, 316725860, MTD 41AJSS-C799, 41CDZ20C799, 41BDZ22C799, 41ADZ20C899 (C459), 41CDZ22C799, 41ADY23C799, 41ADZ20C799, 41BDZ20C799, 41ADY24C799, 41ADZ22C799, 41ADZ33C799, 41ADZ45C799 (316.731701)(2014), 41ADZ40C799, 41ADZ45C799, 41ADZ51C799, 41ADZ2CC799 (316.794450)(2012)
tags: craftsman trimmer head, universal craftsman head, universal trimmer head, trimmer head for battery trimmer, head for battery brushcutter, trimmer head for battery brushcutter, plastic trimmer head, hassle free trimmer head, hassle free head, hassle free iii trimmer head, ez load head, e-z load trimmer head, e-z load brushcutter head,


